Achieve Our Iconic Zapatista Ojo!


step 1
Make sure you have your eyeshadow or eye base ready to go — grab some tape too!
step 2
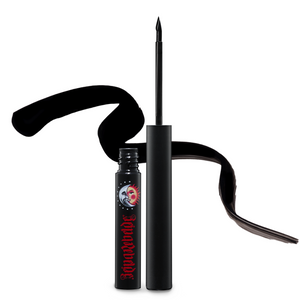
Grab the Reina of the show - your Rebel Eye Definer Liquid in Zapatista and add a dime-sized amount of product to the back of your hand.
step 3
Using the Reina Rebelde #3 Brush swirl your brush into the back of your hand and make sure you’ve picked up a thin even layer of product.
step 4
Take your coated Reina Rebelde #3 brush and tight-line your lash line — to make ojos appear larger avoid lining your lower lash line.
step 5
Grab your tape and lay it diagonally under your eye - This will help you create a perfectly straight wing!
step 6
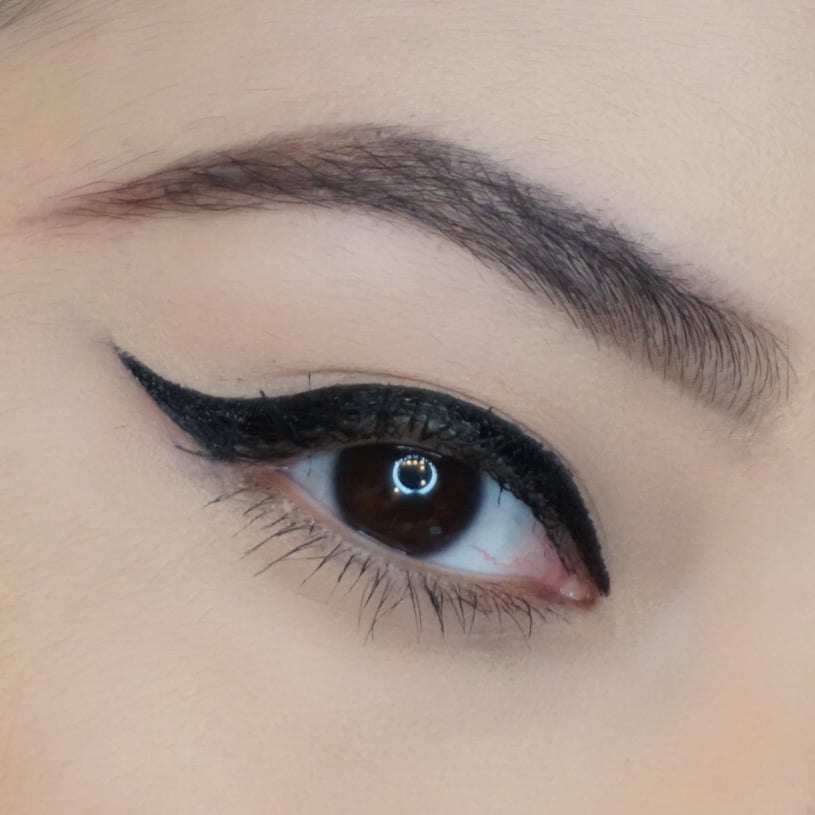
Now take your Rebel Eye Definer Liquid applicator and get ready to wing it…literally lol! Start your wing parallel to where your brows end. Since we’re starting from the outside your wing will need to start thick and get thinner towards the middle of your ojo.
step 7
Now take your applicator to the inner edge of your ojos and repeat step 6, only this time start parallel to where your brows start and create a smaller thinner wing to connect towards the middle of the ojo. Once both wings are connected on the eyelid, dot Zapatista or black shadow (like 4 Play Wet Dry Eye Color in Tapatía) along the lower lash line using the same Reina Rebelde #3 Brush.
step 8
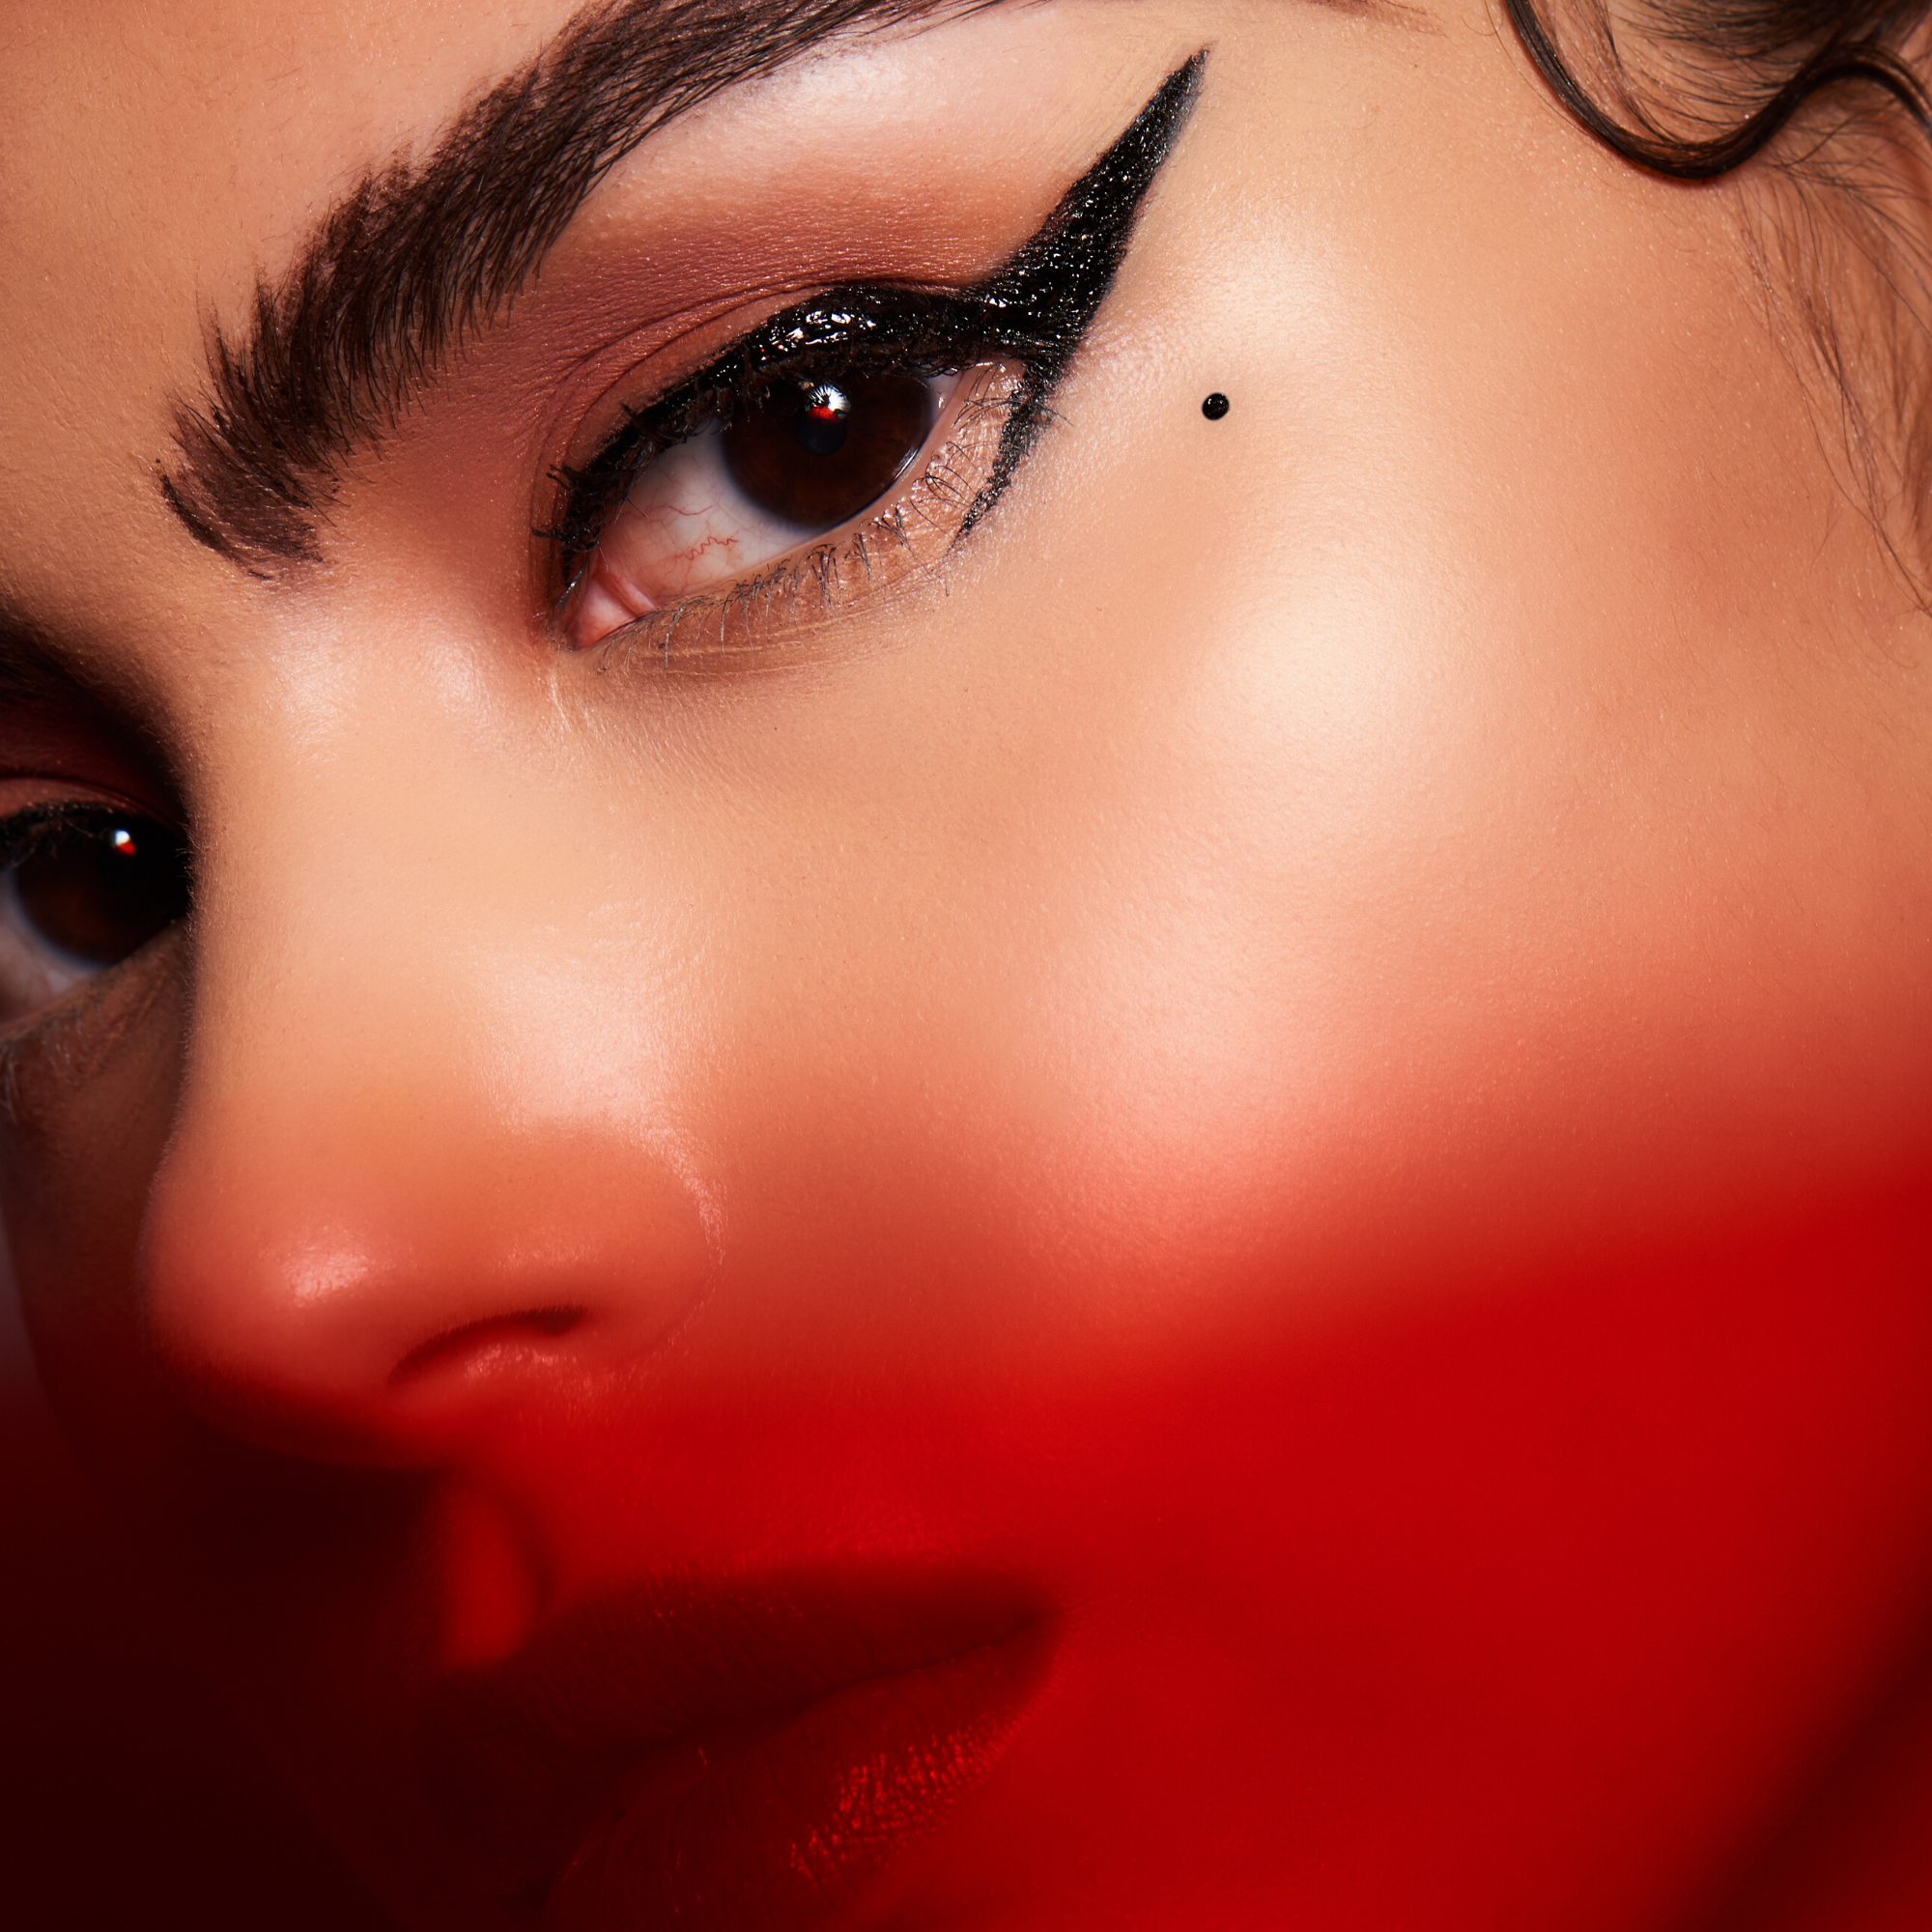
Add mascara and lashes (optional) - time to rock your Zapatista liner to any function whether you are rocking chola makeup glam or just slaying your best wing throughout the day—because you. did. that. Queen!
.jpg?880x880)
More Tutorials


- Al seleccionar una opción, se actualiza toda la página.
- Se abre en una nueva ventana.